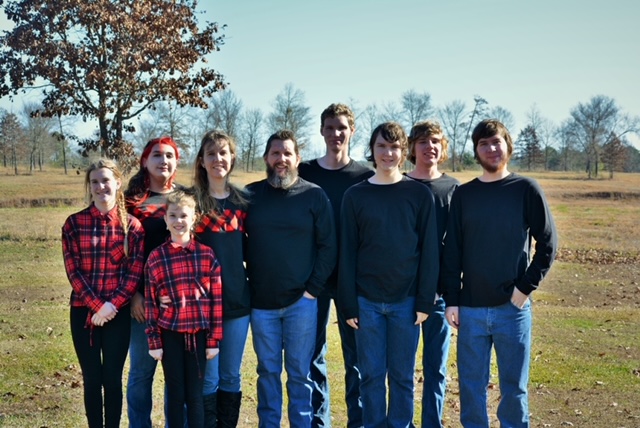
Do you make yearbooks for your homeschool? I had never really thought about making a yearbook before. But recently I was given an opportunity to review Picaboo Yearbooks 20 Page Softcover Yearbook. After making this yearbook, it will definitely be something that I do for years to come.
"Imagine the possibilities. With Picaboo Yearbooks, there are no limits to what you can do."
Picaboo Yearbooks are created online using the software on the Picaboo Yearbooks website. You do not need to download anything to your computer. The only thing you need to supply is the photos. Picaboo Yearbooks have many different backgrounds, borders, and stickers for you to use on your pages. You can also put in your own text. There are features that allow you to add people to your yearbook team. This enables multiple people to work on the project from different computers. Once your yearbook is created, finished, and ordered, you will receive your yearbook within 3 weeks.
Softcover Yearbooks start at $8.49 for 20 pages (9x12 or 8.5x11) Shipping cost will vary.
Hardcover Yearbooks start at $18.99 for 20 pages (9x12 or 8.5x11) Shipping cost will vary.
E yearbooks are free with no obligation to order a print copy.
Click here to start creating your yearbook.
After clicking to start creating your yearbook, you have to register. The registration process is quick and easy. then you can begin creating your yearbook. Once you click on new yearbook you are taken to a screen that you have to fill out a short informational form and a form that chooses size of the yearbook, number of pages, estimated number of books, and estimated order date. Next you can begin working on your yearbook by adding sections. You do not have to break it up into sections if you don't want to, but I found that breaking into sections made it easier for me to choose which photos I wanted. I made a section for each child and some of the important activities/filed trips we did this year. When creating your sections you also choose how many pages you want in each section. My sections were:
Cover
Emelia
Lillian
Christian
Anthony
Alexander
Nicholas
Chelsea
Homeschool Fun (2 pages)
Homeschool Art Class (2 pages)
Mid America Science Museum (2 pages)
Little Rock Zoo
Historic Washington State Park
Valentine Social
Marine World
Science Fair
Homeschool Music Lessons
Tent Camping
Next you click on the name of your section to start uploading your photos. Once your photos are uploaded into the section you can drop and drag them to the pages using one of their templates, or by placing and sizing them yourself. Then you can choose from the many backgrounds, stickers, borders, and text options to decorate your pages.
Once you have completed your book and previewed it, you must lock each section. Then you can place your order.
Here are some photos I took of my pages.
I spent several hours per day over the course of a week making this yearbook. Choosing the pictures took a really long time, but once I got it broken up into the sections I wanted it narrowed down my photo choices and made it easier working on one section at a time. My internet speed is pretty slow and at times it did take awhile to upload the pictures. Uploading fewer pictures at one time helped.
One of my favorite things about using Picaboo Yearbooks is the variety of backgrounds and stickers that you could use on your pages. Those little touches really help make the yearbook yours. I loved being able to personalize the children's pages not only with their favorite colors but also stickers of things that they love. I really like the fact that I didn't have to buy or download anything special to my computer in order to use the program. I love that you have the freedom to make the book whatever you want it to be. You do not have to follow the traditional school portrait pages format. Your creativity can really shine through.
Getting started was a bit of a learning curve. There are a lot of tutorial videos available to watch (you can find them here), but I couldn't find a good one to take you through the getting started points step by step. I had no trouble making my sections, but it took me forever to figure out how to start loading the pictures into each section. I must have tried everything but clicking on the section name, and waded through several videos before I finally figured it out. Once I got past that, it was easy to upload the pictures and get them onto the pages.
Wading through the different backgrounds took a very long time. There are so many to choose from! You have the option to save them to favorites as you find ones that you like, but there are 1,000's of choices. I wish they had been a little better organized. Using the search feature did not bring up what I was looking for, so I had to search through several backgrounds looking for the ones I wanted. You do have the option of using a photo for a background, or just choosing a solid color which I thought were both great features.
There are several layout options that you can choose from if you do not want to place the pictures yourself. All you have to do is choose a layout and drag and drop your pictures where you want them. There are layouts for 1,2,3,4, or 5+ pictures. I would've liked to see more options in the 5+ layouts. There were a few pages I wanted to use 9 photos on but there wasn't a layout for 9 photos, and I tried to use the 8 photo layout and then add another picture, but I couldn't get the size exactly to match the others, so I ended up using only 8 photos on those pages.
I loved the finished product! I couldn't wait for it to get here, and when it did it exceeded my expectations. We now have a beautiful yearbook of our homeschool memories for the 2012/2013 school year. I had a wonderful time choosing the photos and creating this yearbook.
To see what my Crew Mates had to say, click on the banner below.


No comments:
Post a Comment